5.0 KiB
Installation
If you have a ubuntu iso you want to use then create the libvirt/vm folder and copy it there to ubuntu20_04.iso
mkdir ~/mirror-env/libvirt/vm
cp <ubuntu iso> ~/mirror-env/libvirt/vm/ubuntu20_04.iso
Note: the libvirt/vm folder and everything in it will be deleted by cleanup.yml
Prerequisites (debian)
Install QEMU and KVM
$ apt install --no-install-recommends qemu-system libvirt-clients libvirt-daemon-system
Install other packages for the playbook
$ apt install ansible cloud-image-utils dnsmasq ovmf python3
Packages I can't tell if you need or not
virtinst
virt-manager
bridge-utils
Then install virt-viewer for the ubuntu install using
$ apt install virt-viewer
Finally add your user to the libvirt group (may need to logout for this to take effect)
usermod -a -G libvirt <username>
Prerequisites (archlinux)
needs update
$ pacman -S qemu libvirt virt-install virt-viewer ansible
Running the Playbook
Modify the hosts file to your liking then run
ansible-playbook -K main.yml
Then connect to the created vm using virt-viewer
virt-viewer --connect qemu://system mirror
If vm is on a remote machine
virt-viewer --connect qemu+ssh://<user>@X.X.X.X/system mirror
Follow the steps under Installing Ubuntu before continuing
vm may stop so will need to start with
virsh start mirror
after starting check the ip address of the vm with
virsh net-dhcp-leases mirbr0
and ssh
ssh local@192.168.123.XXX
In the vm switch to root, install some packages, and clone the repo.
$ sudo su
password: password
$ cd
$ apt update && apt upgrade
$ apt install git ansible
$ git clone https://git.csclub.uwaterloo.ca/public/mirror-env.git
Then cd mirror-env/mirror and follow the README.md there.
Deleting the VM
The VM and everything related can be removed by running the cleanup.yml playbook
ansible-playbook -K cleanup.yml
Troubleshooting
virsh -c qemu:///system start mirror
virsh -c qemu:///system net-dhcp-leases mirbr0
net.ipv4.ip_forward = 1
modprobe kvm_intel
If running as root may need to edit config
# edit /etc/libvirt/qemu.conf
user = "root"
group = "root"
$ service restart libvirtd
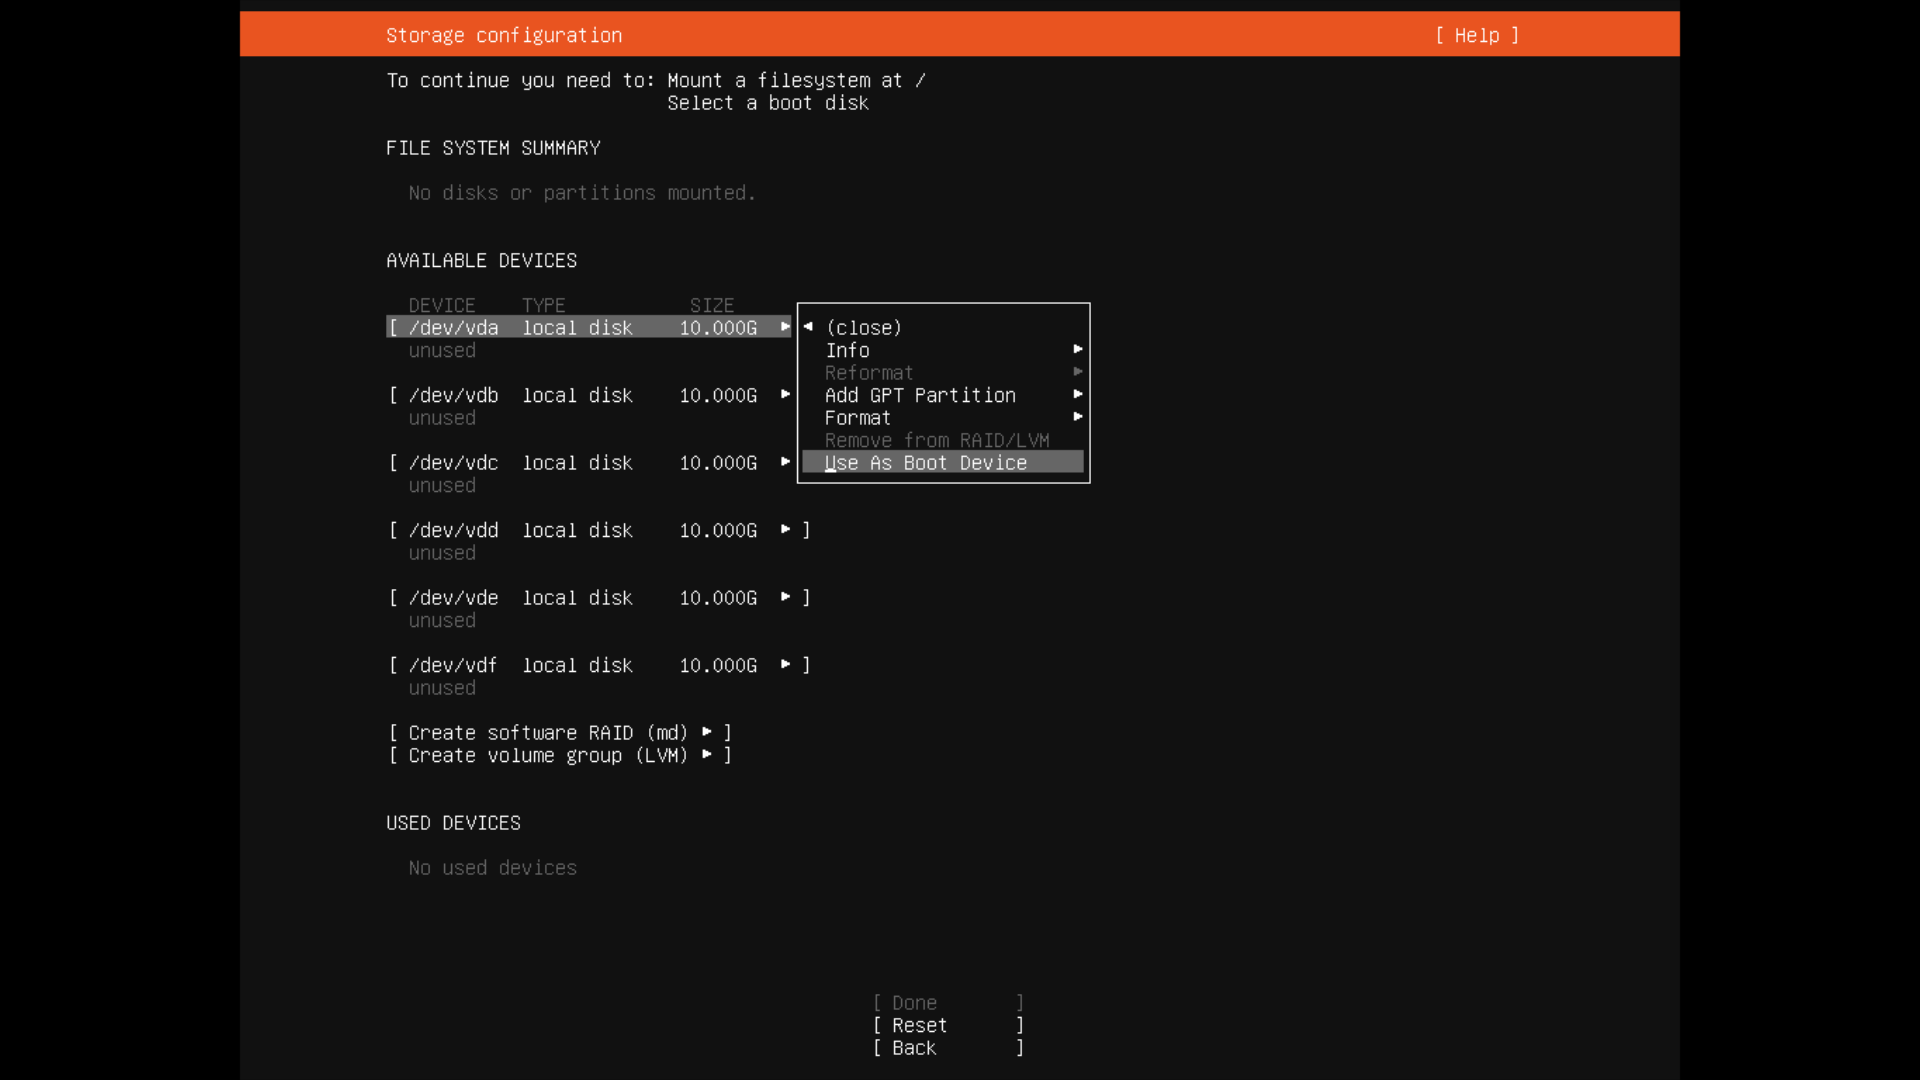
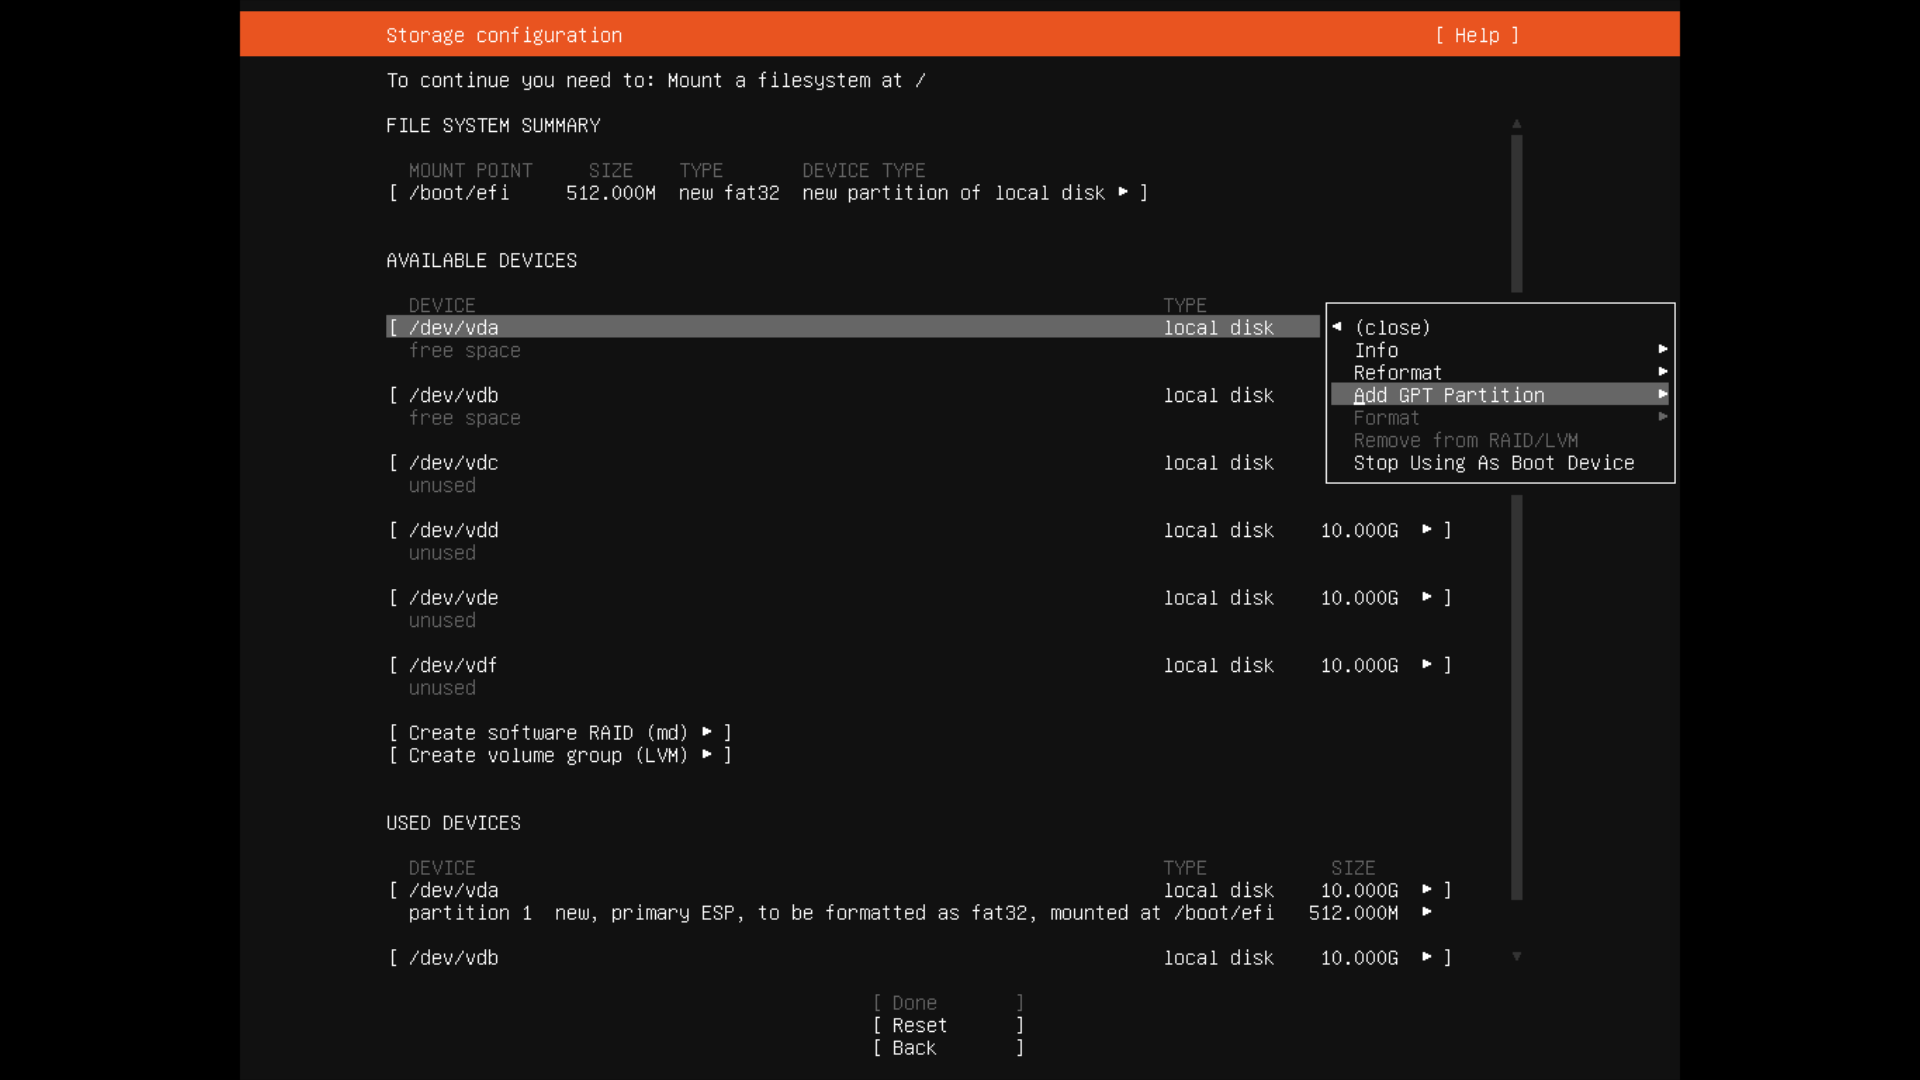
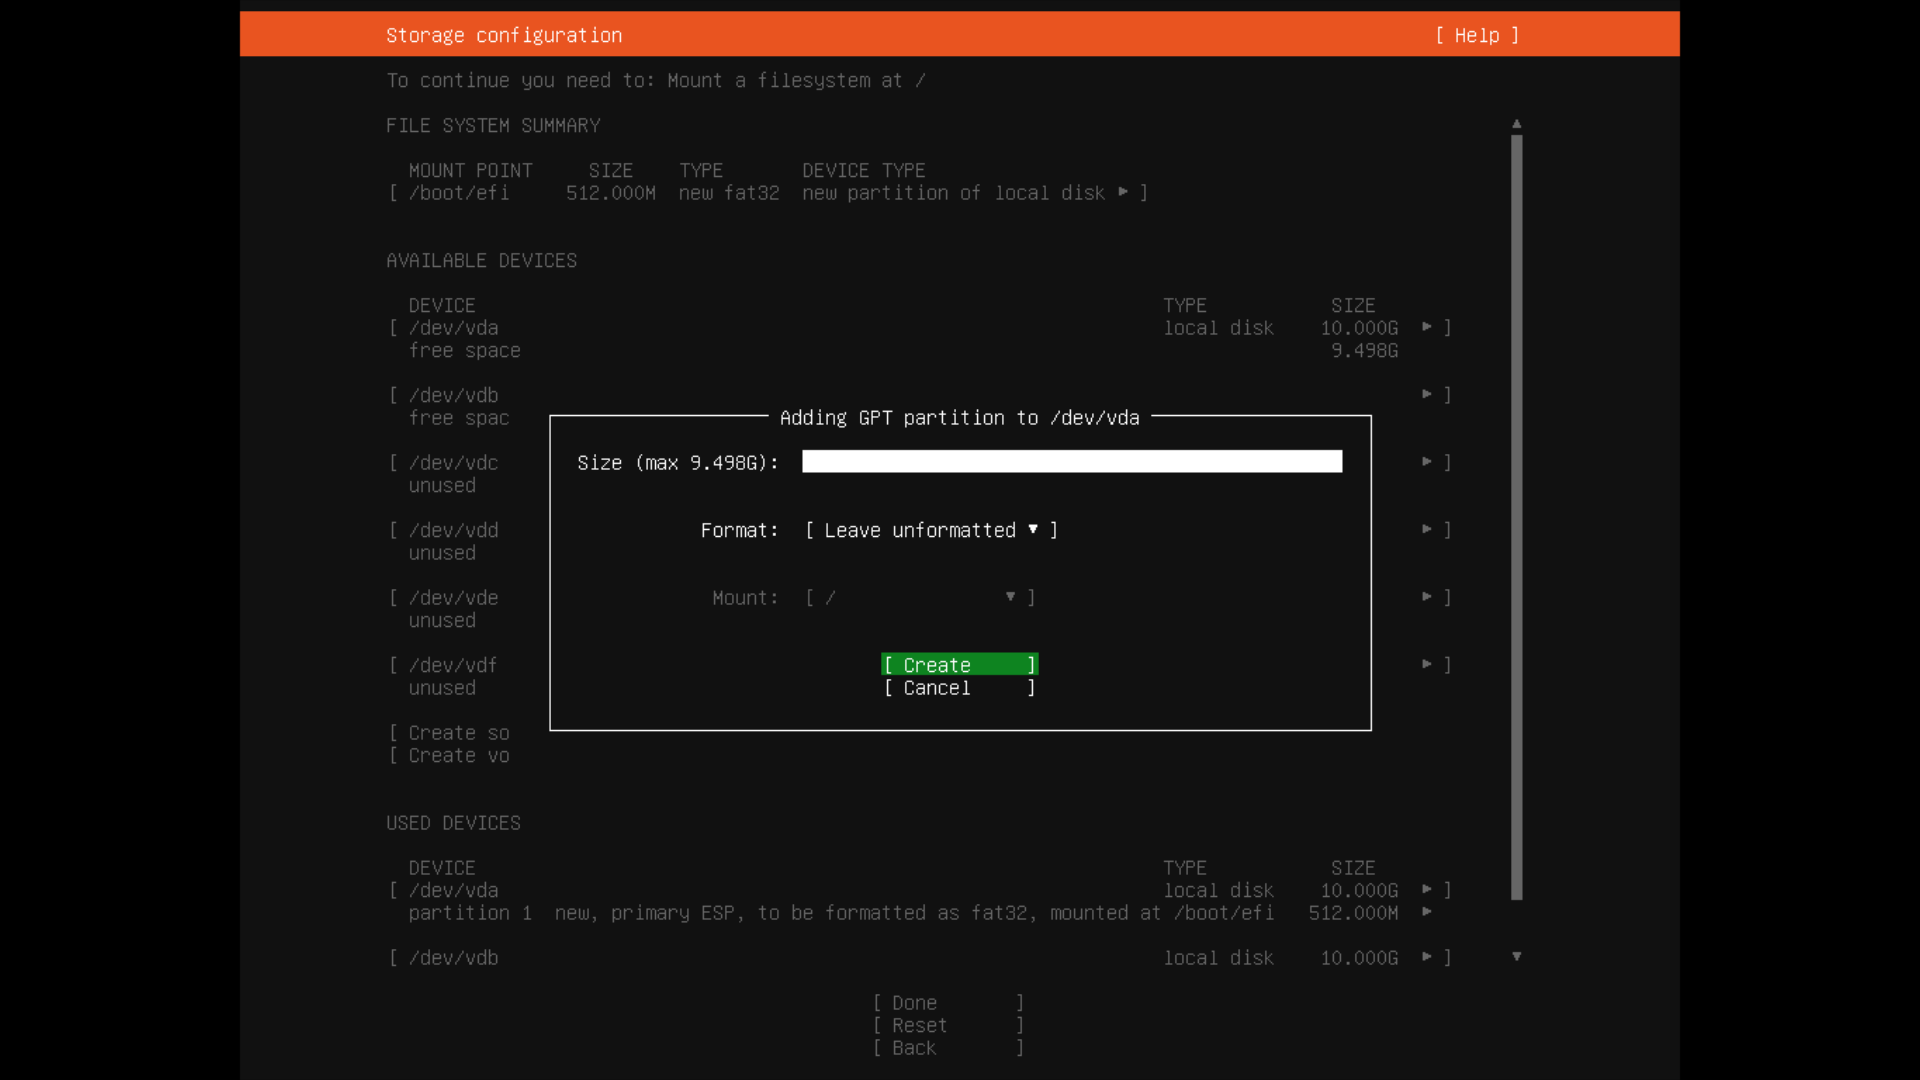
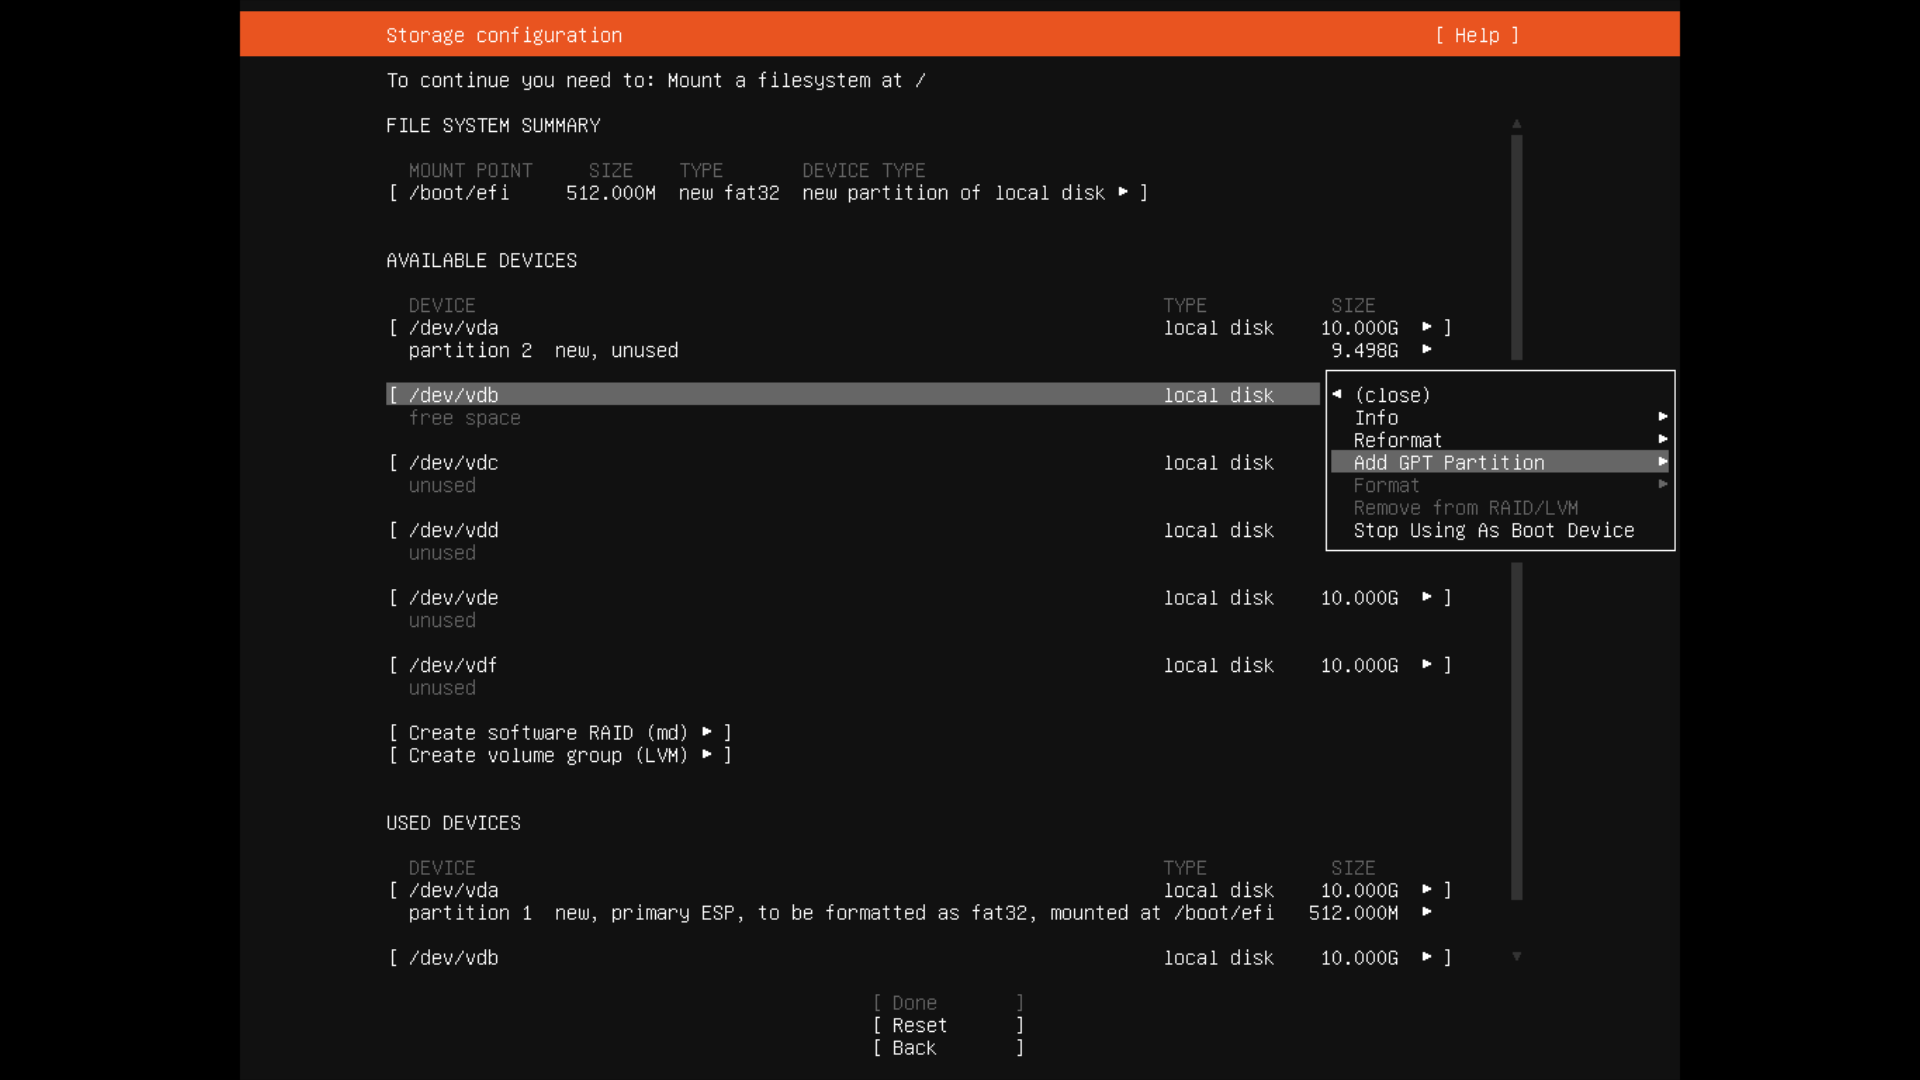
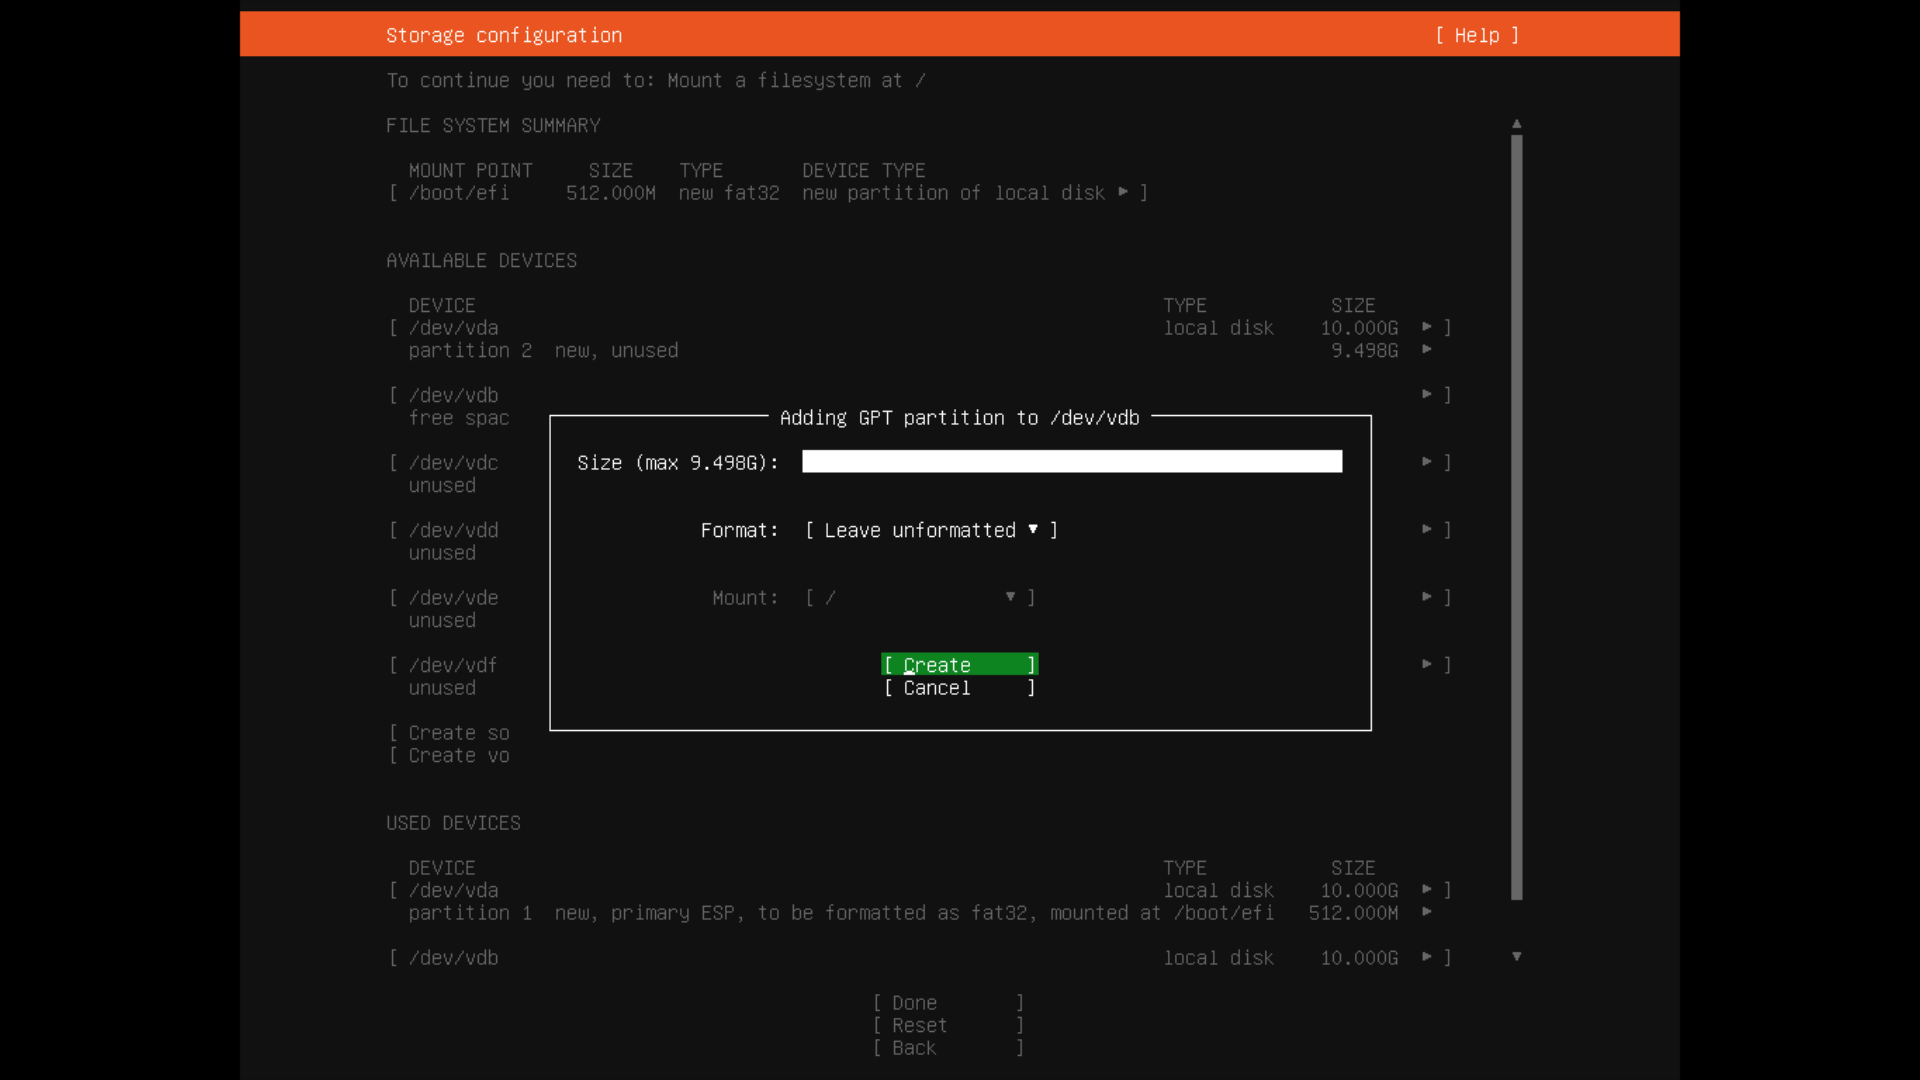
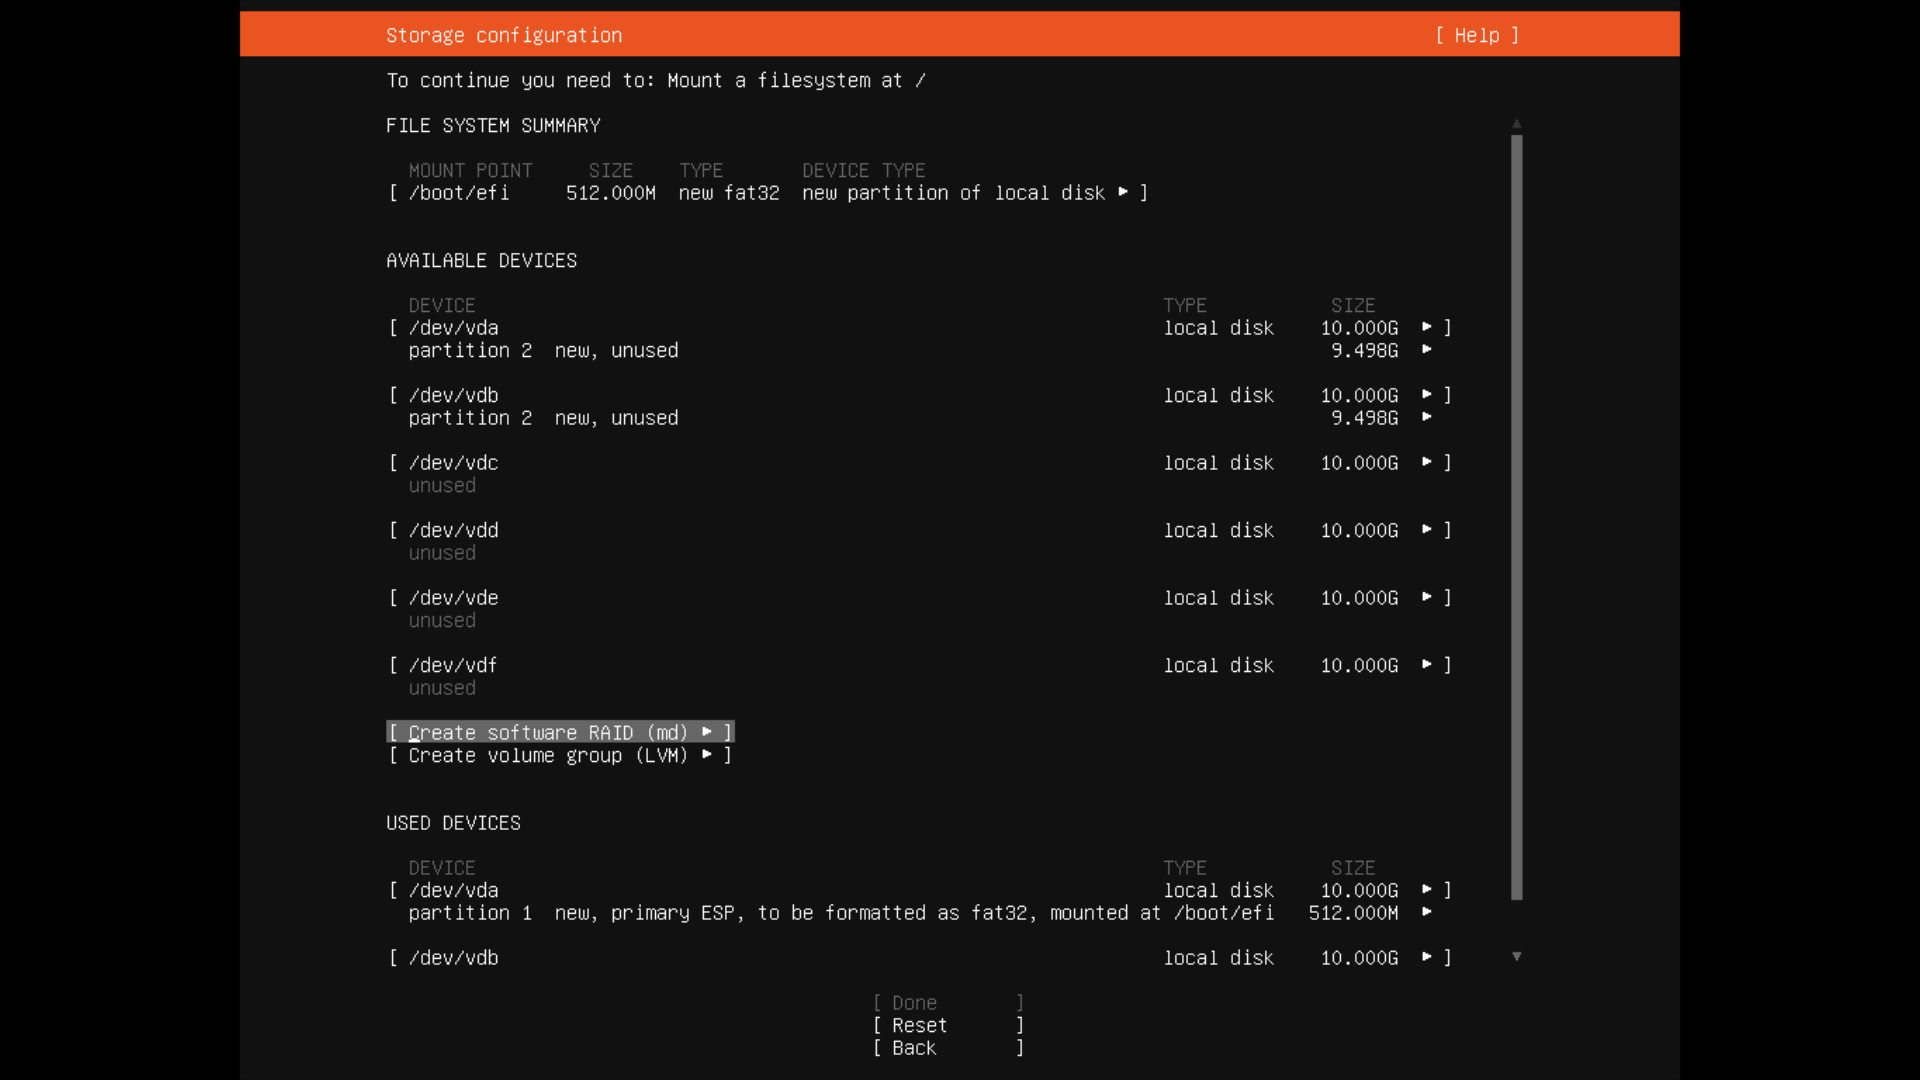
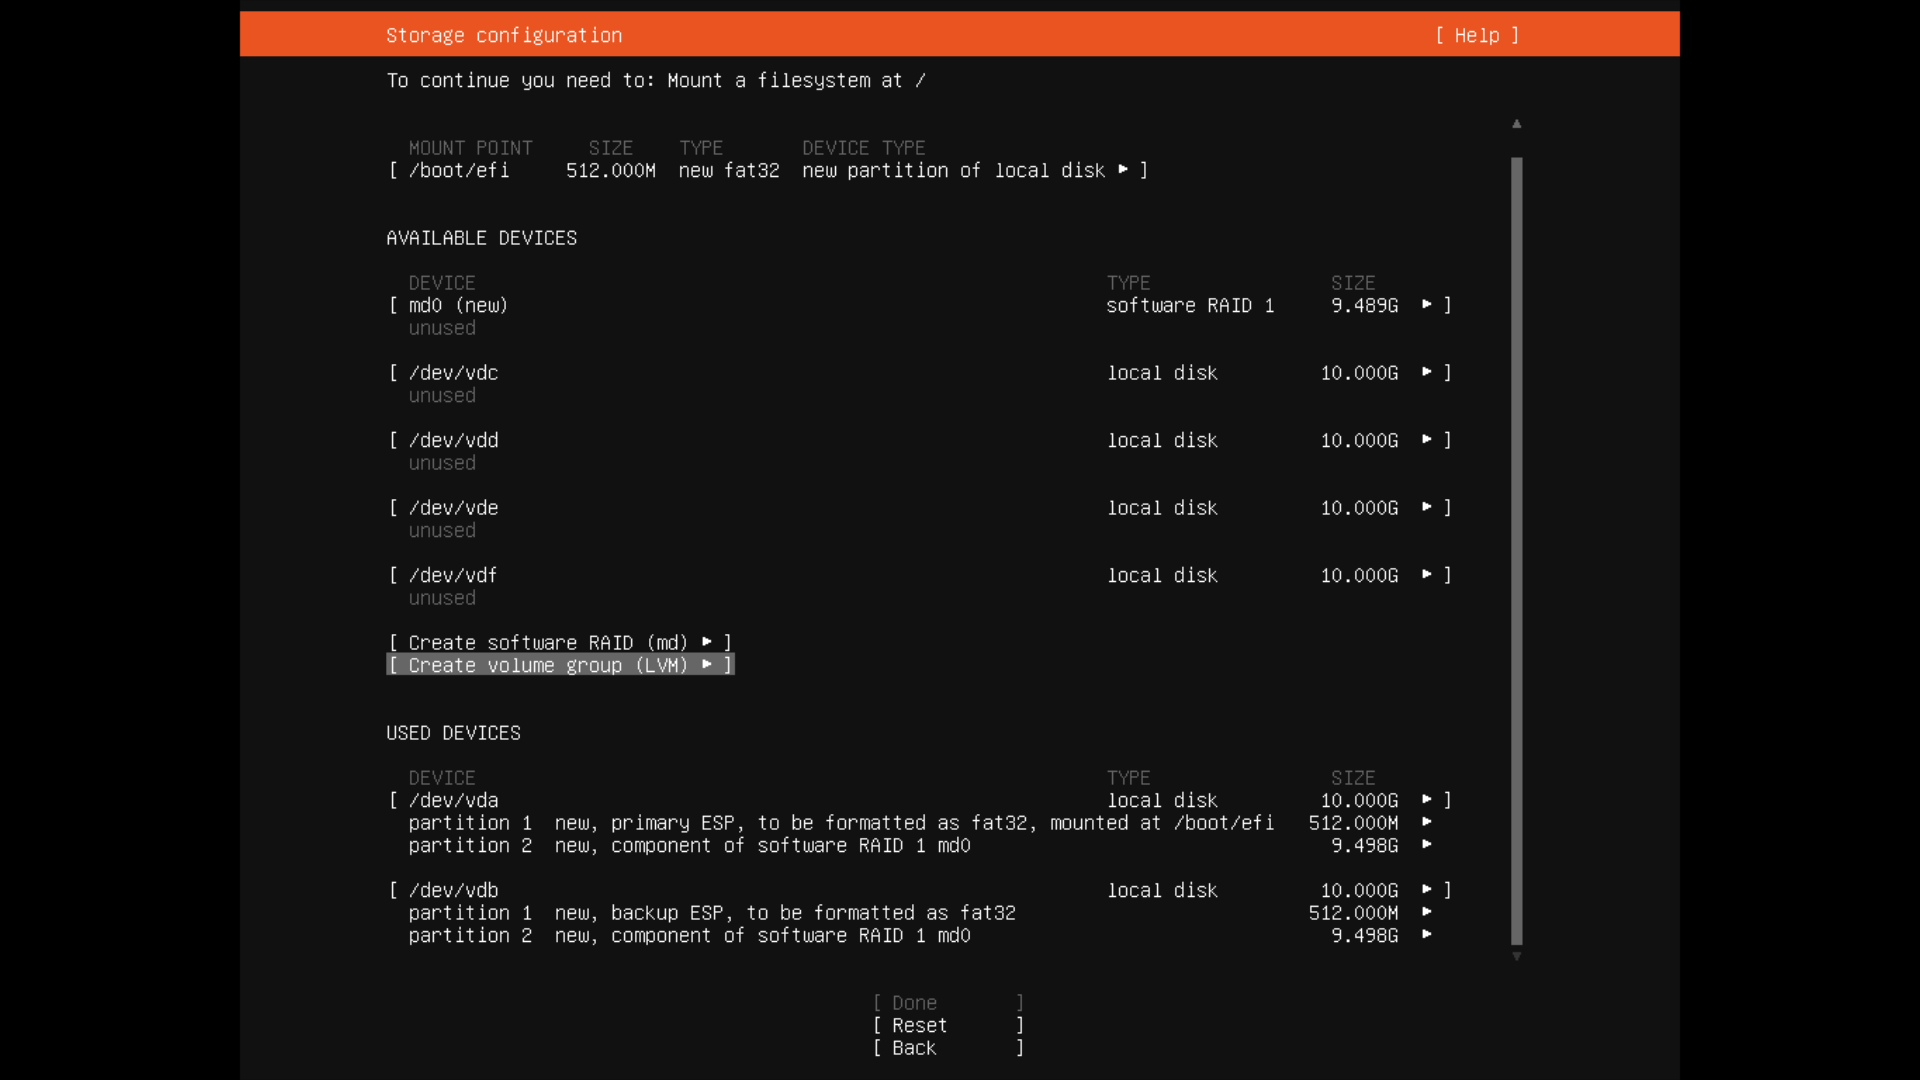
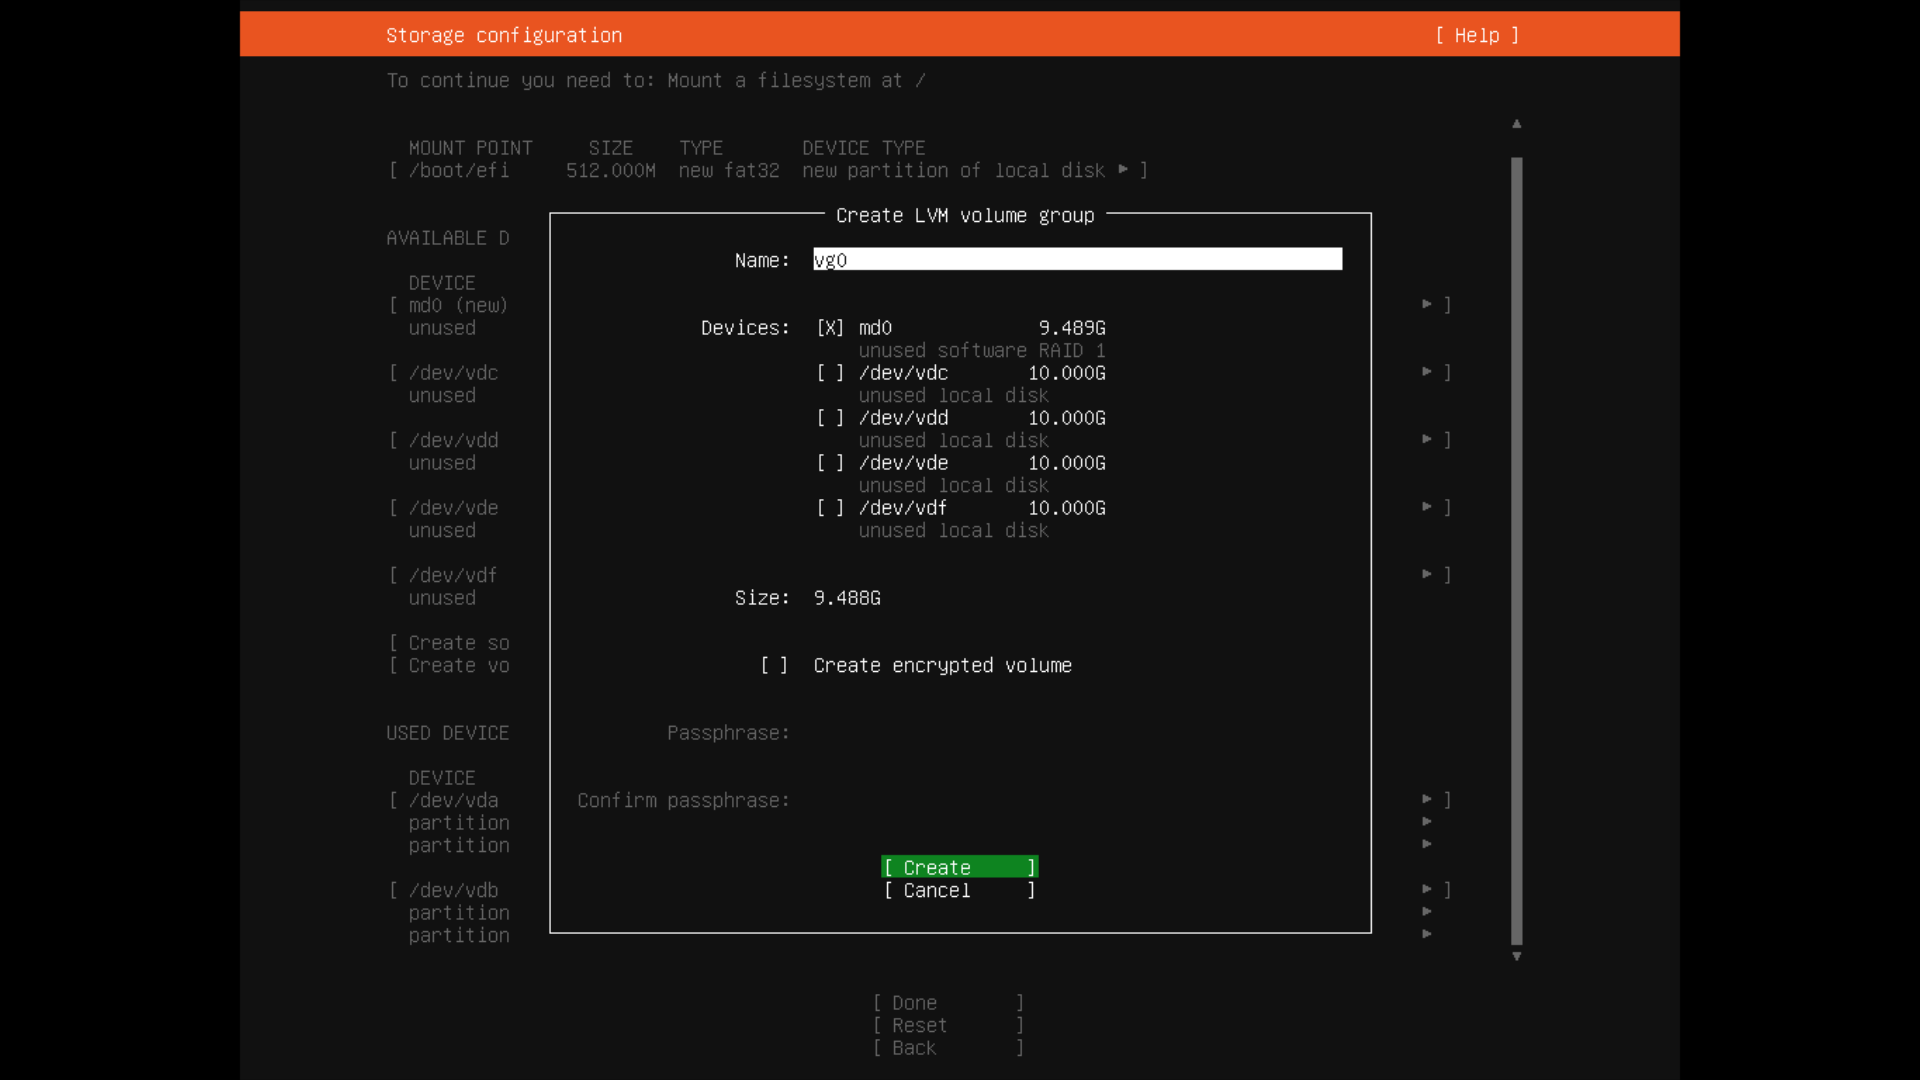
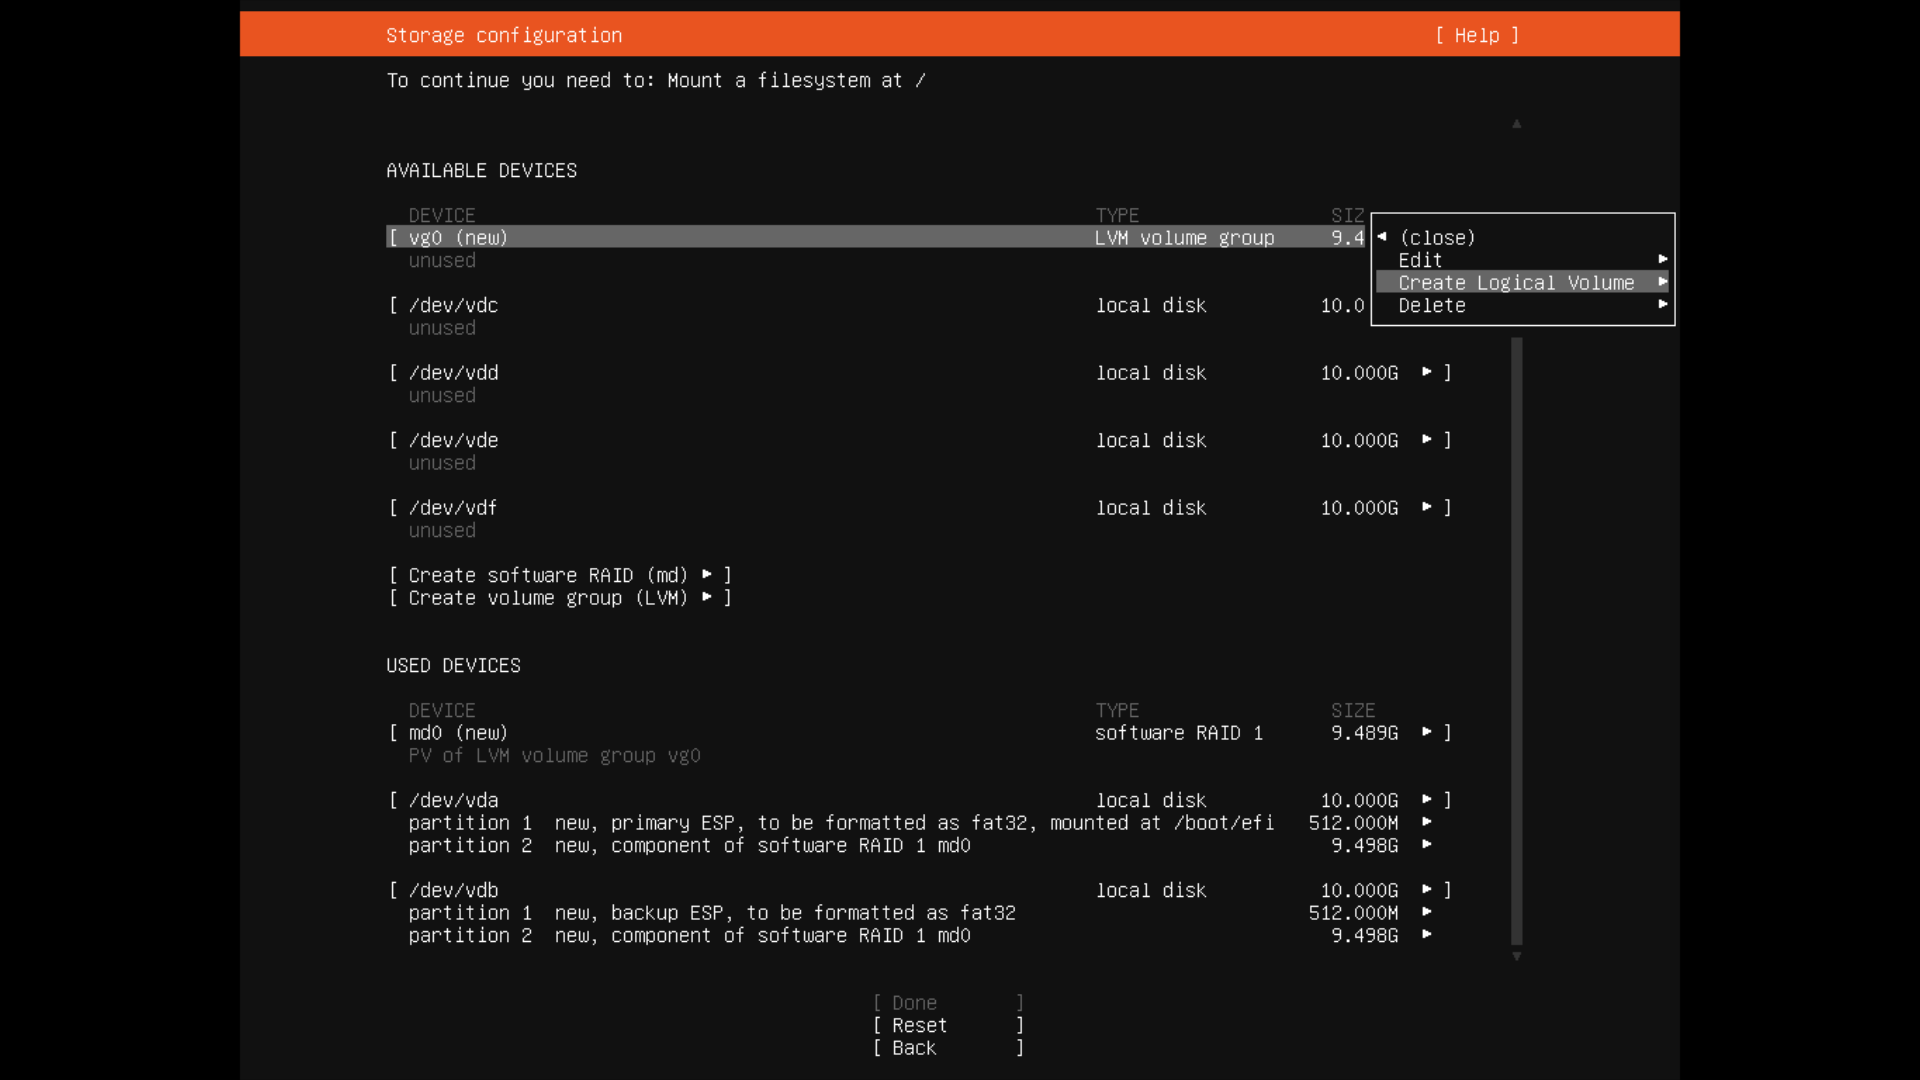
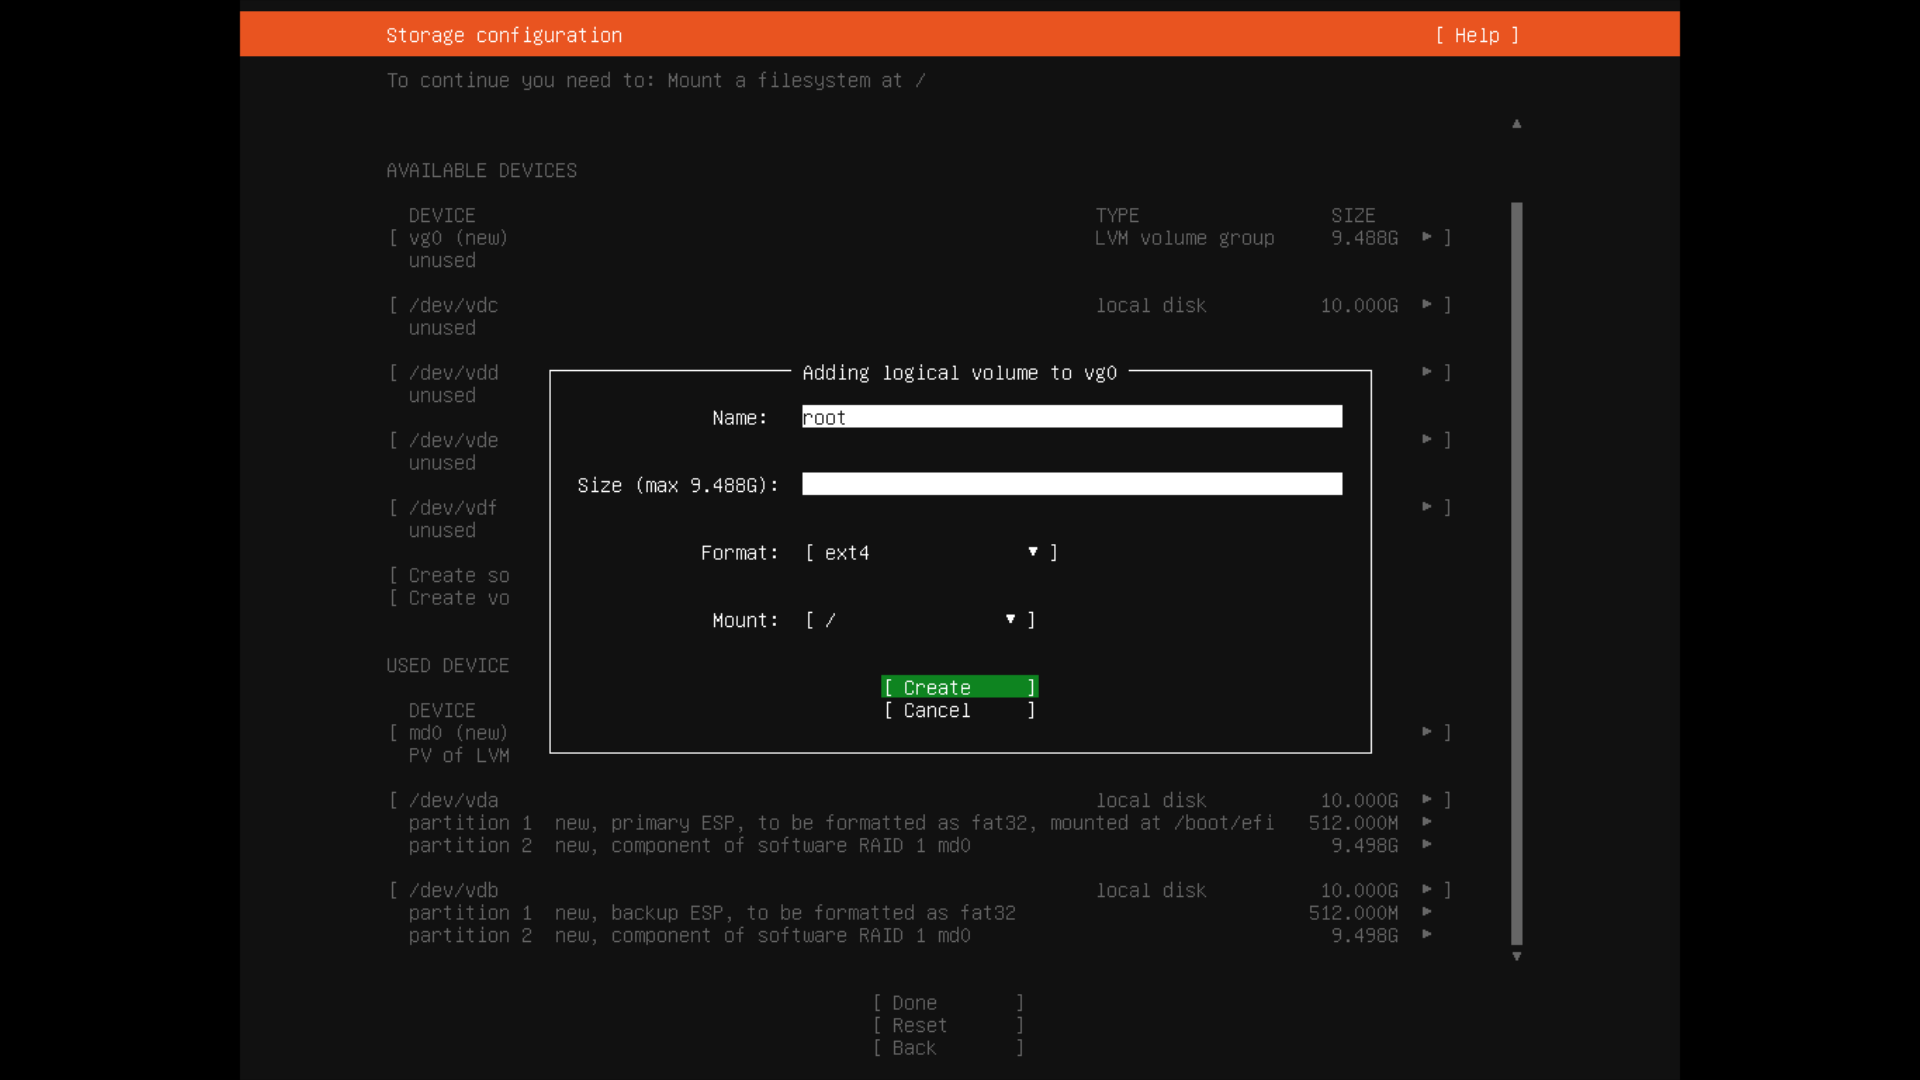
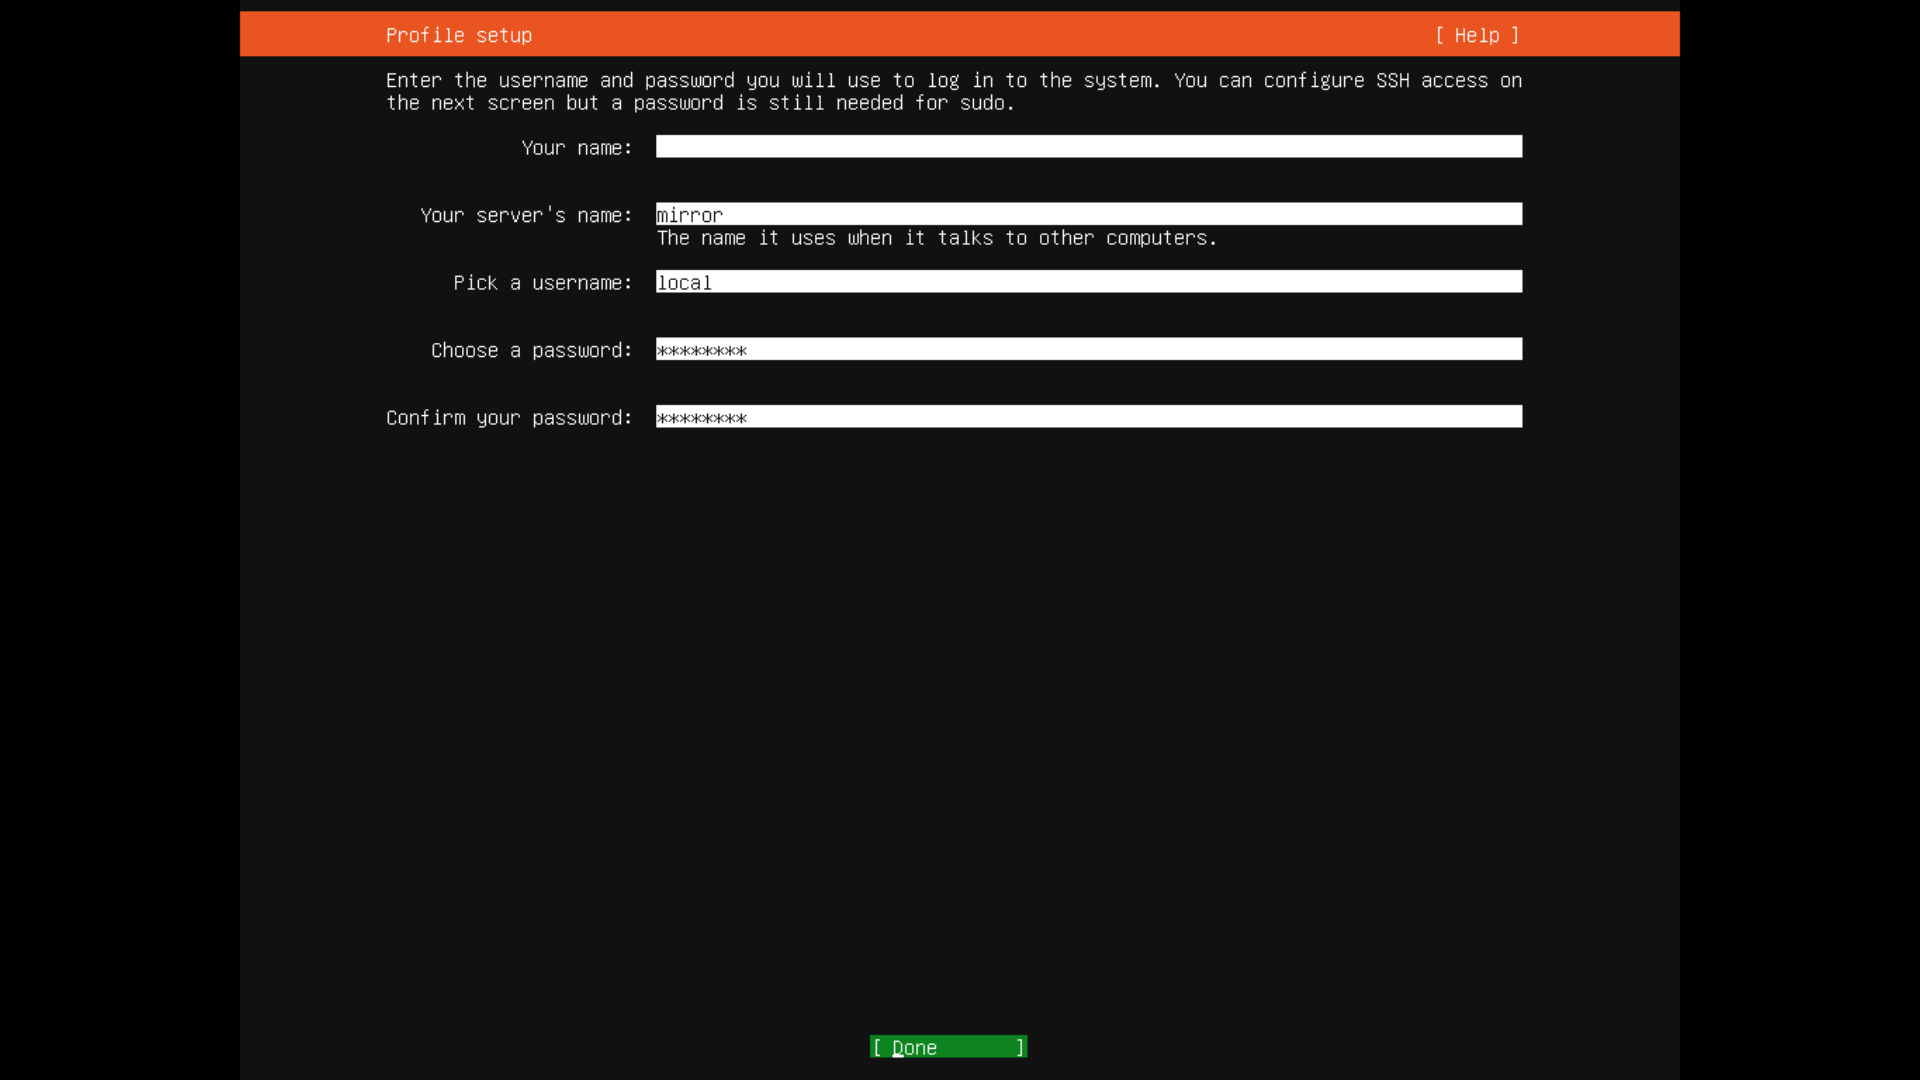
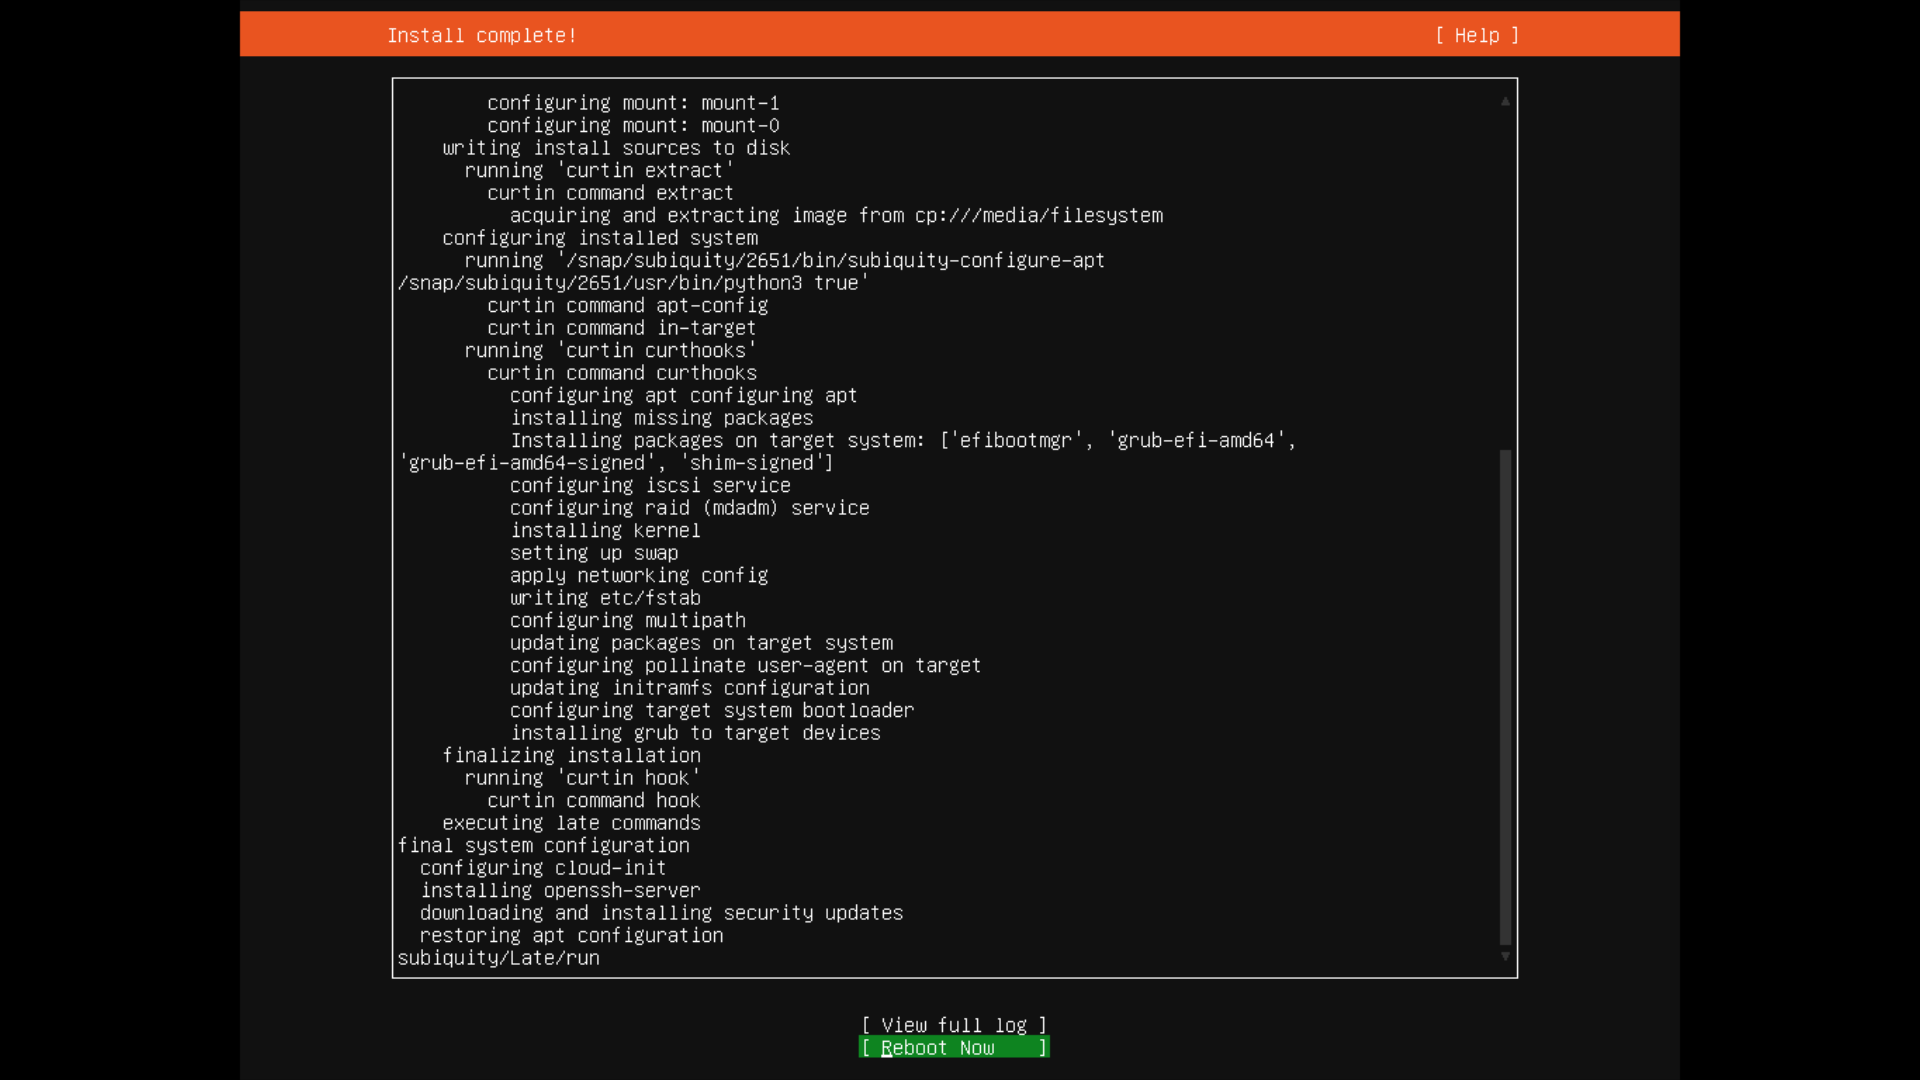
Installing Ubuntu
- user: local
- password: password
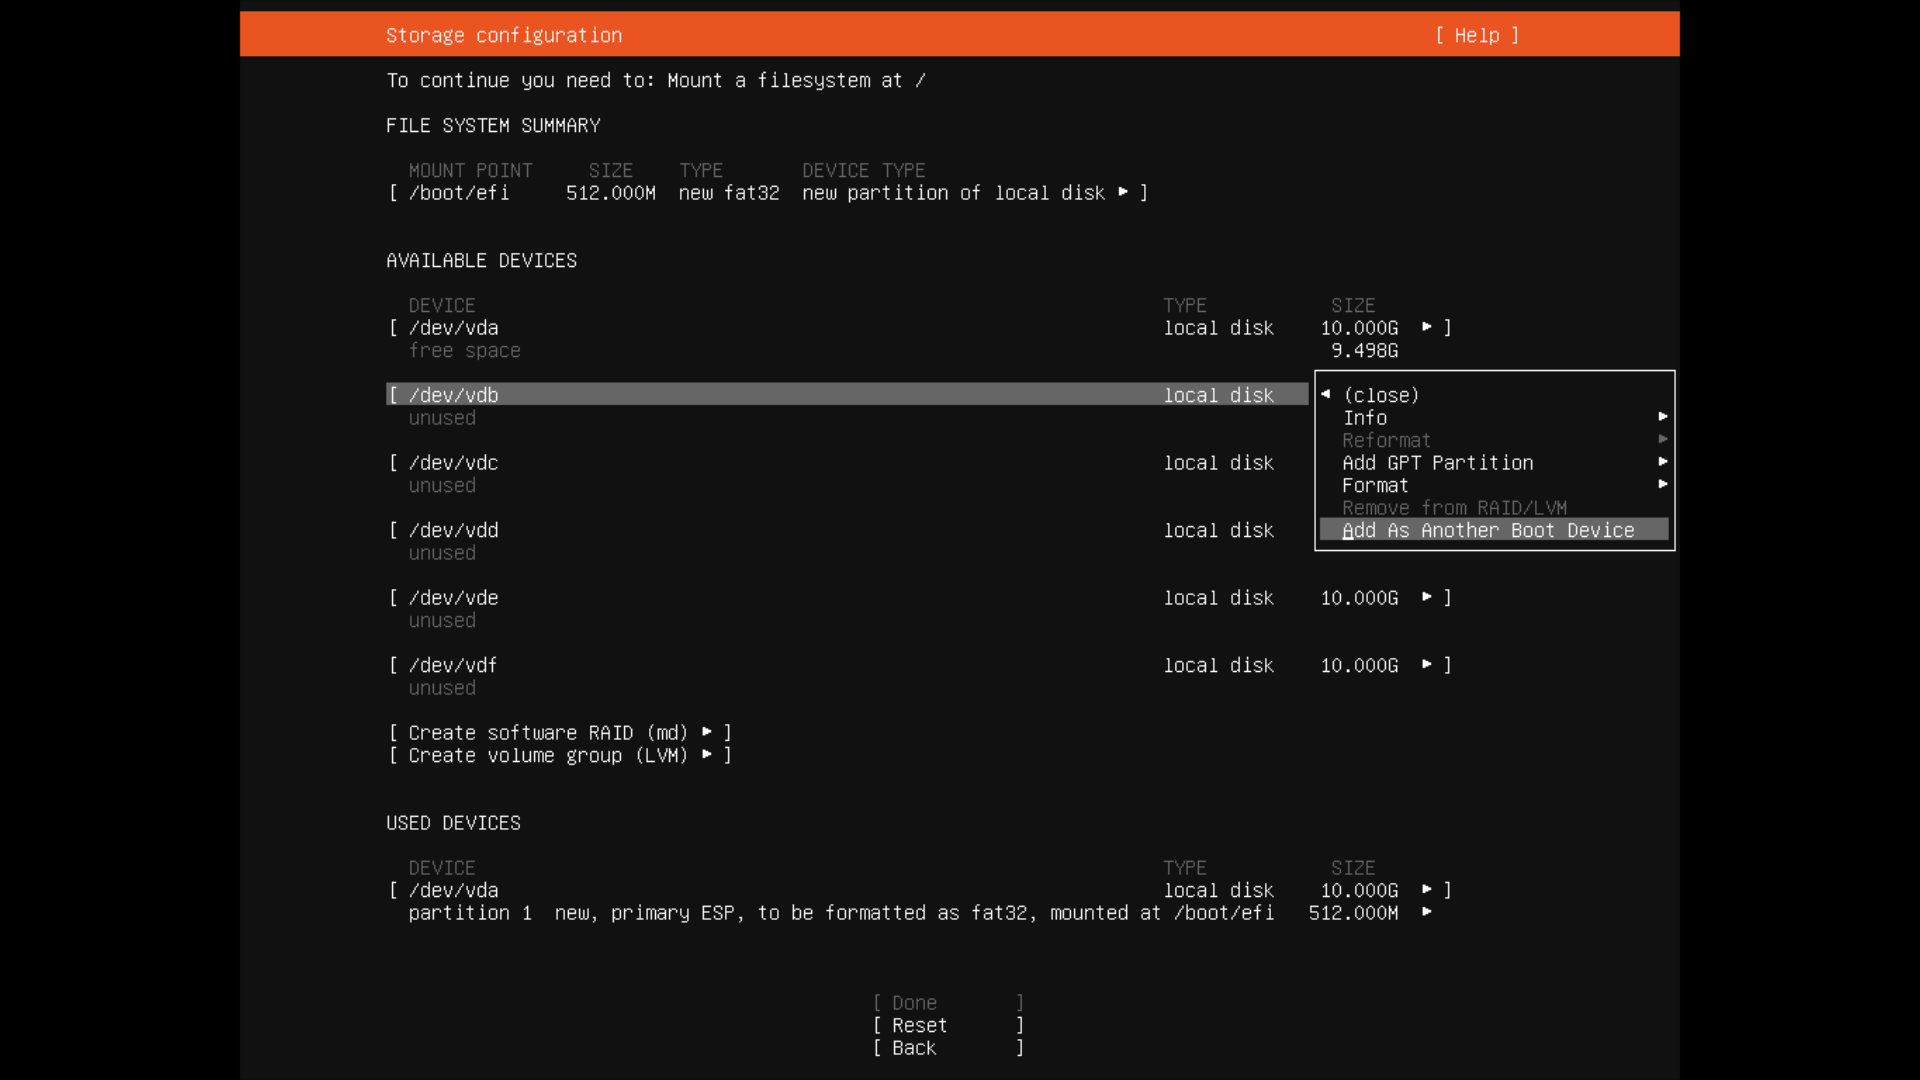
The system created from following these steps should look like this:
$ lsblk
NAME           MAJ:MIN RM  SIZE RO TYPE  MOUNTPOINT
loop0            7:0    0 55.4M  1 loop  /snap/core18/2128
loop1            7:1    0 32.3M  1 loop  /snap/snapd/12704
loop2            7:2    0 70.3M  1 loop  /snap/lxd/21029
loop3            7:3    0 32.3M  1 loop  /snap/snapd/13170
loop4            7:4    0 61.8M  1 loop  /snap/core20/1081
loop5            7:5    0 67.3M  1 loop  /snap/lxd/21545
sr0             11:0    1 1024M  0 rom
vda            252:0    0   10G  0 disk
├─vda1         252:1    0  512M  0 part  /boot/efi
└─vda2         252:2    0  9.5G  0 part
  └─md0          9:0    0  9.5G  0 raid1
    └─vg0-root 253:0    0  9.5G  0 lvm   /
vdb            252:16   0   10G  0 disk
├─vdb1         252:17   0  512M  0 part
└─vdb2         252:18   0  9.5G  0 part
  └─md0          9:0    0  9.5G  0 raid1
    └─vg0-root 253:0    0  9.5G  0 lvm   /
vdc            252:32   0   10G  0 disk
vdd            252:48   0   10G  0 disk
vde            252:64   0   10G  0 disk
vdf            252:80   0   10G  0 disk


Create a new user with
- username: local
- password: password
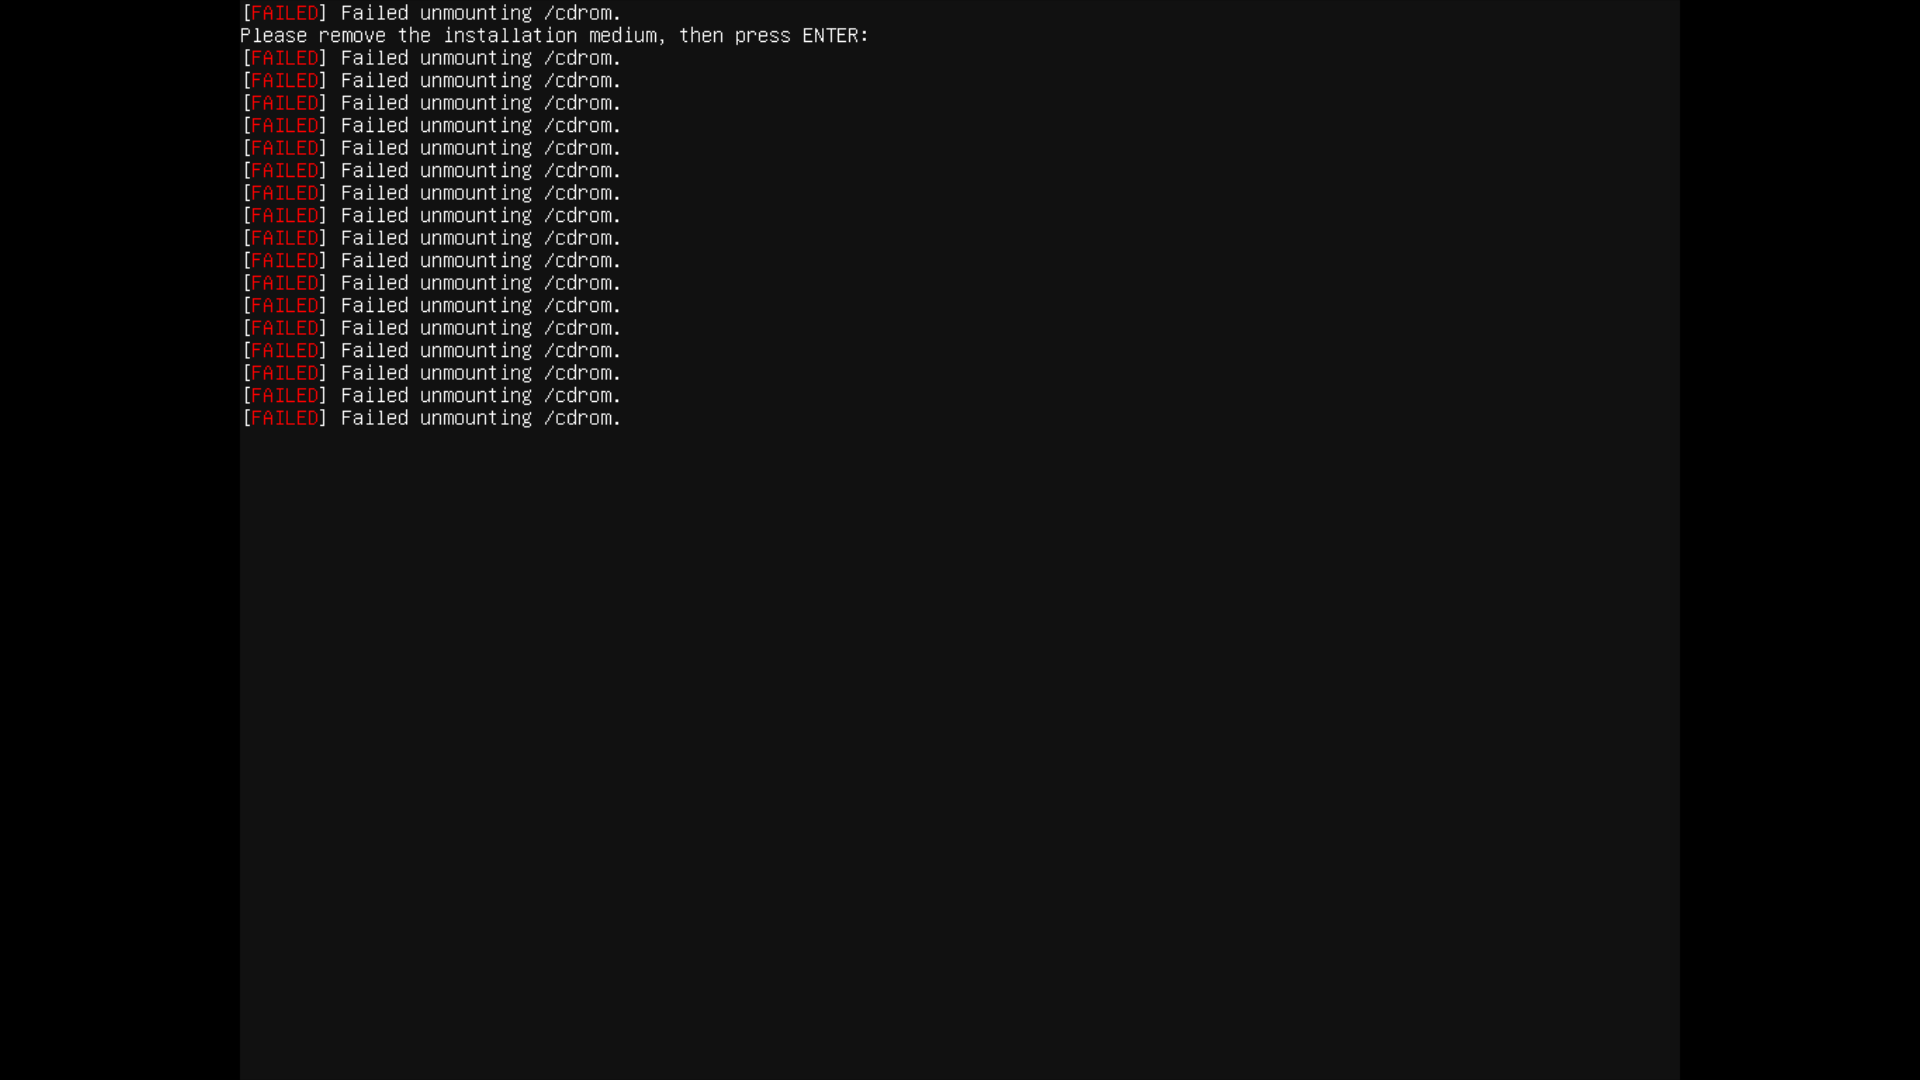
You can ignore this error and just press enter
Now you go back to Running the Playbook